
DIY vs. Professional Installation of Paint Protection Film
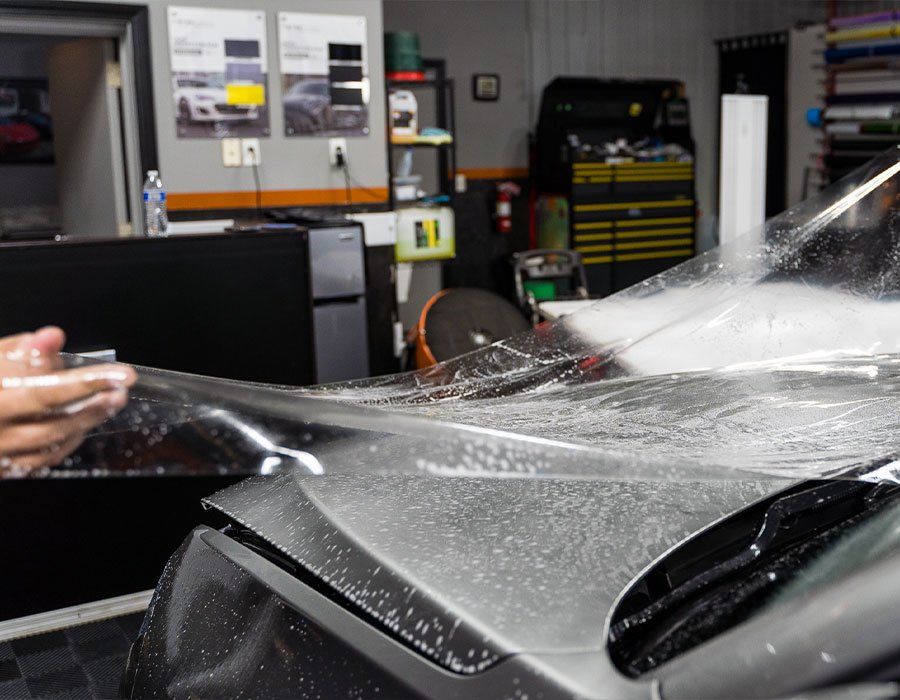
Deciding whether to apply paint protection film yourself or to hire a professional can be tricky. For many car enthusiasts, like yourself, it boils down to weighing costs against potential benefits and risks. The idea of DIY might seem appealing because it promises savings on labor costs, but there's more beneath the surface. From intricate air bubbles threatening a flawless finish to unexpected hours spent perfecting application techniques, various pitfalls can turn what seems like an easy weekend project into a prolonged struggle.
The main differences between DIY and professional installation of paint protection film lie in expertise, cost, and quality. Professional installers offer high precision and quality using premium materials, often with warranty coverage, while DIY options provide cost savings but require a certain level of skill and may result in imperfections if not applied correctly.
DIY vs. Professional Installation: A Quick Overview
The choice between DIY and professional installation of paint protection film (PPF) comes down to several significant aspects: cost, quality, and time. As you navigate this decision, consider how each element plays into your personal circumstances and priorities.
Key Factors
- Cost: When evaluating cost, it’s clear that DIY options present a more budget-friendly route. By tackling the project yourself, you can save on labor costs, with expenses typically ranging from $200 to $500 for materials alone. In contrast, professional installations are often pricier, averaging between $1,500 and $6,000 depending on factors like the vehicle's size and the quality of the film used. However, remember that while you save upfront with DIY, allocating a larger sum can yield superior results.
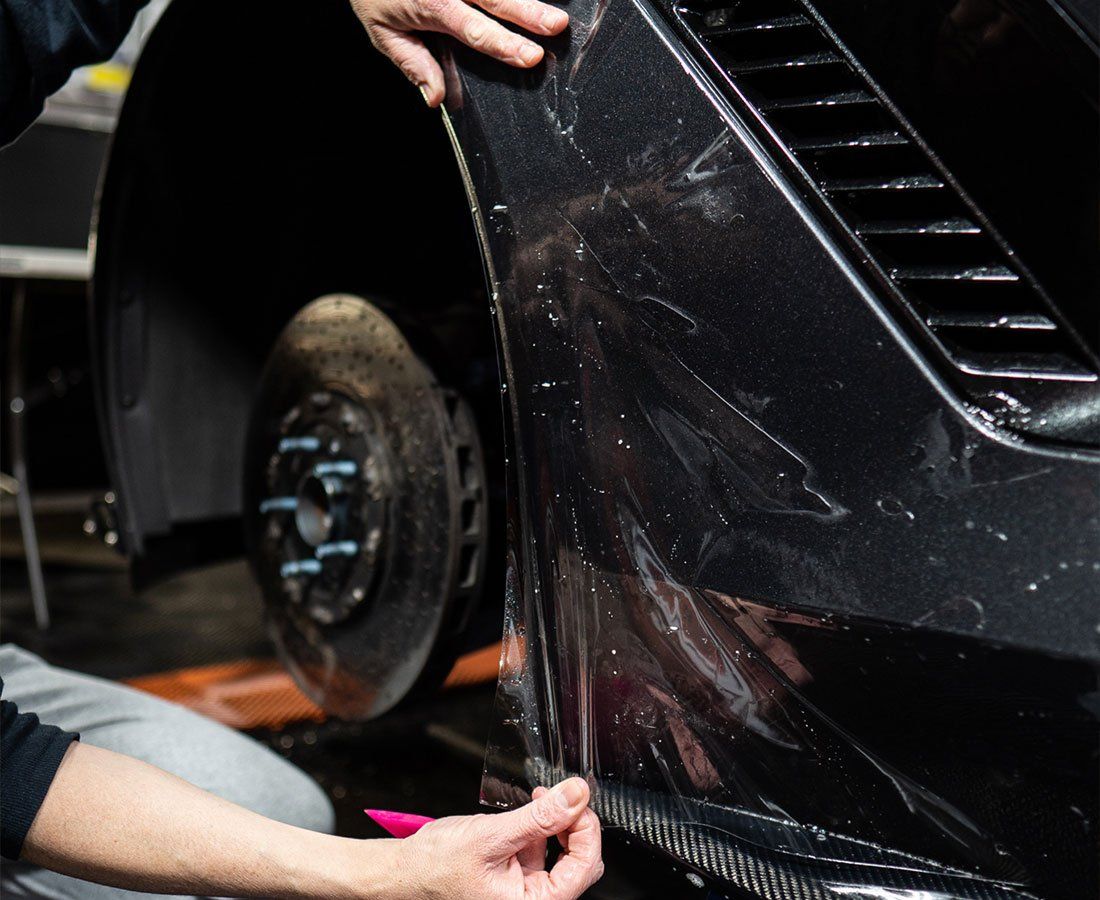
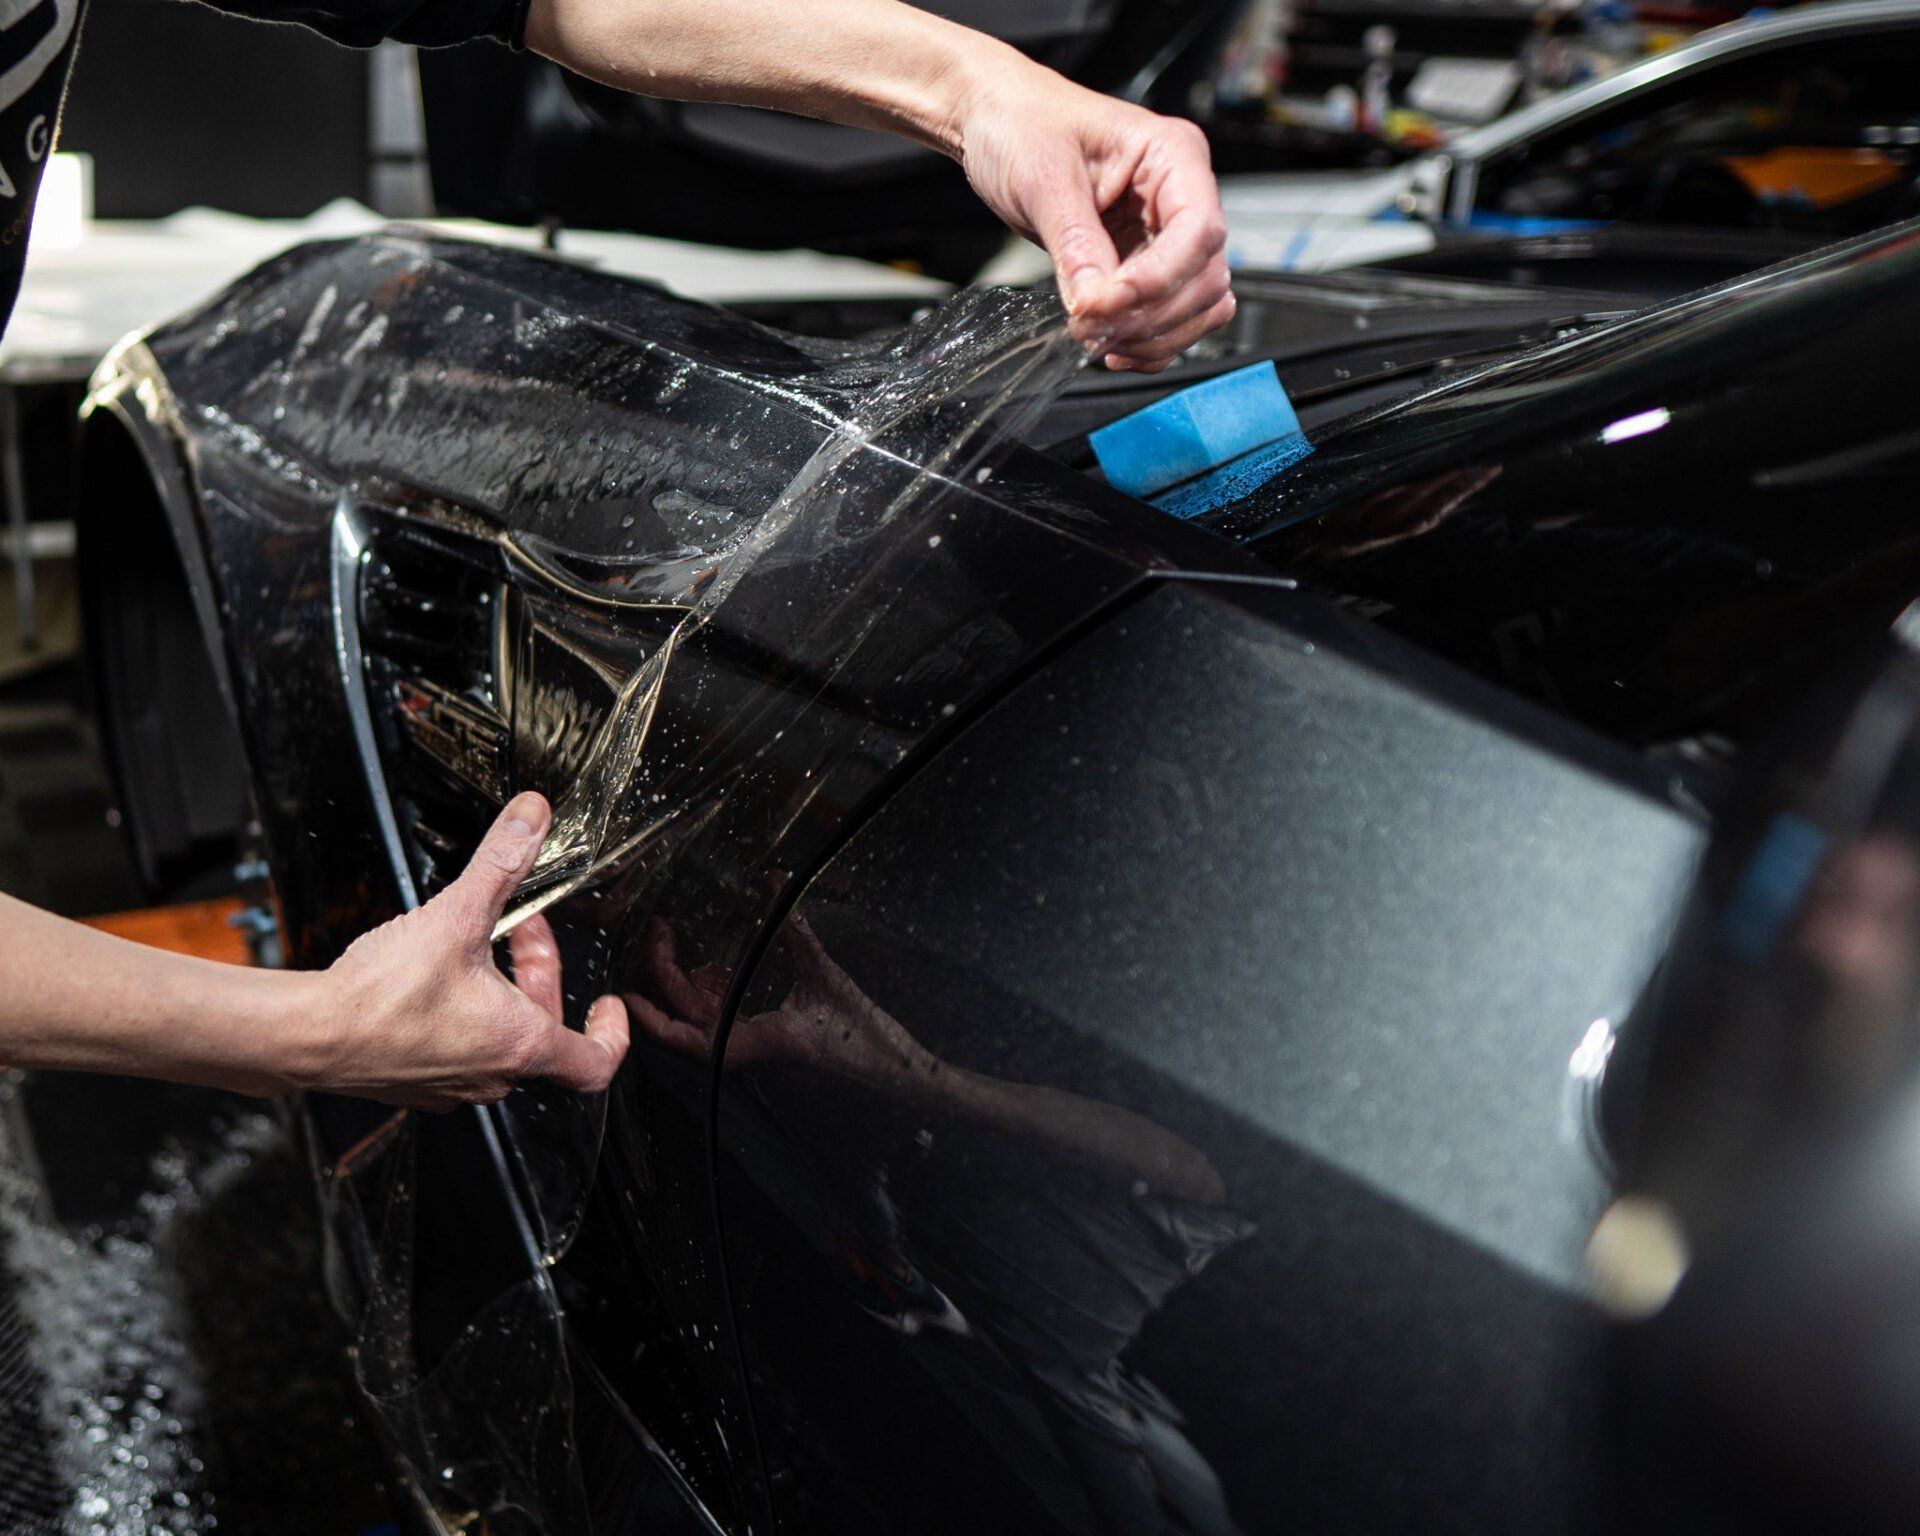
- Quality: Quality is pivotal in this debate. Professionals bring a wealth of experience and specialized tools that enable them to apply paint protection film with precision, leaving minimal room for errors such as air bubbles or misalignment. In contrast, a first-time DIYer may face challenges that could hinder the overall appearance and effectiveness of the film. It’s important to weigh whether the savings from DIY are worth potentially compromising on quality.
- Time: Time is another factor. DIY installations require significant commitment; an average car owner might dedicate an entire weekend to complete the job properly. This includes preparation, application, and drying times that can extend beyond initial expectations. On the other hand, hiring a professional allows you to skip the hassle altogether; they can typically complete the job in a matter of hours while you go about your day.
Each of these elements can sway your decision towards one option or another, but it's also about what best suits your needs and comfort level with manual work. As you contemplate this decision, it’s essential to focus not only on immediate benefits but also on how your choice will impact your vehicle's long-term appearance and preservation.
Comparing Costs: DIY vs. Professional
When considering paint protection film installation, it's crucial to evaluate not just the initial costs but also what those costs mean in the long run.
- DIY Cost Breakdown: Although many believe that doing it themselves will save a significant chunk of money, this isn't always the case. While DIY installations can seem appealing at first glance, they're often filled with hidden expenses driven by human error and potential mistakes. If you take on the DIY route, you'll initially spend between $200 and $500 on the paint protection film material itself. Don't forget about the additional cost of tools and supplies, which could add another $50 to $100 to your budget. Now, here's where it gets interesting: if you're inexperienced or not careful, you might find yourself needing to redo sections or even the entire application due to bubbles or misalignment. As a result, those unexpected errors can drive costs much higher than anticipated, totaling up to an extra $200 or more.
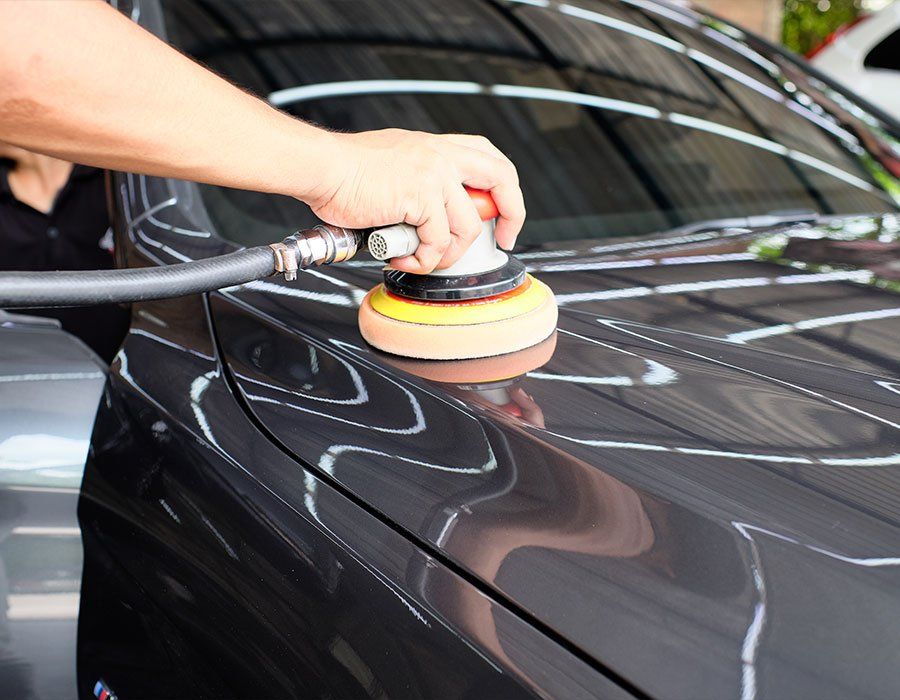
- Professional Cost Breakdown: When opting for professional services, the cost typically ranges between $1,500 and $6,000, depending on factors such as the complexity of the project, the size of the vehicle, and the level of protection you choose. While this price may seem high at first glance, it often reflects the use of premium-grade materials designed for maximum durability and longevity. Professional installers use specialized equipment and techniques that ensure precise application, minimizing the risk of bubbles, peeling, or imperfections that could compromise the coating or film's effectiveness. Additionally, these services often come with extended warranties on both the materials and the workmanship. These warranties can cover anything from minor defects to complete reapplication if the protection fails prematurely, providing you with peace of mind that DIY approaches simply can’t match.
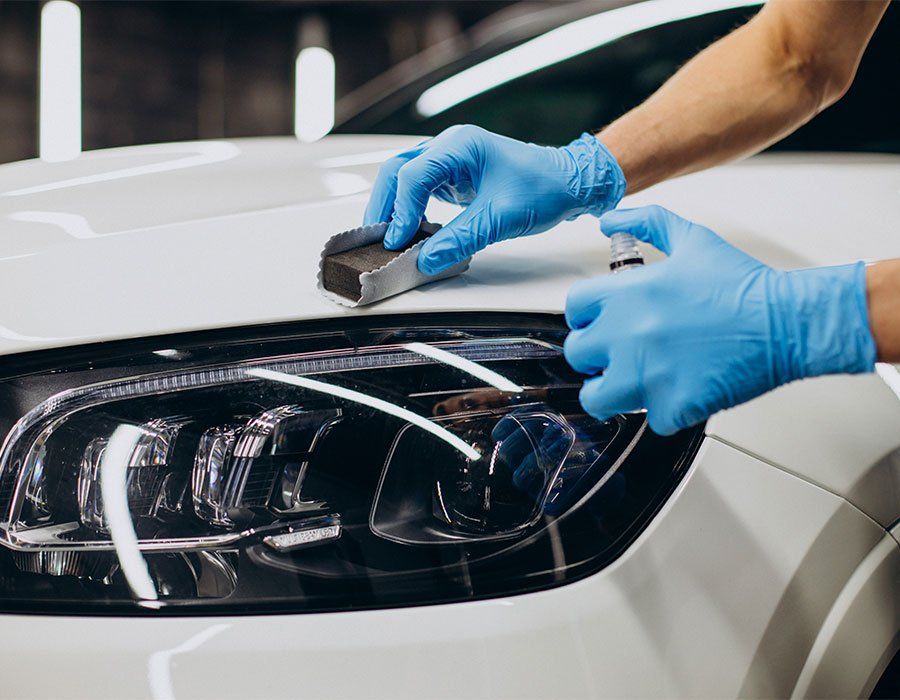
Installation Quality: DIY vs. Professional
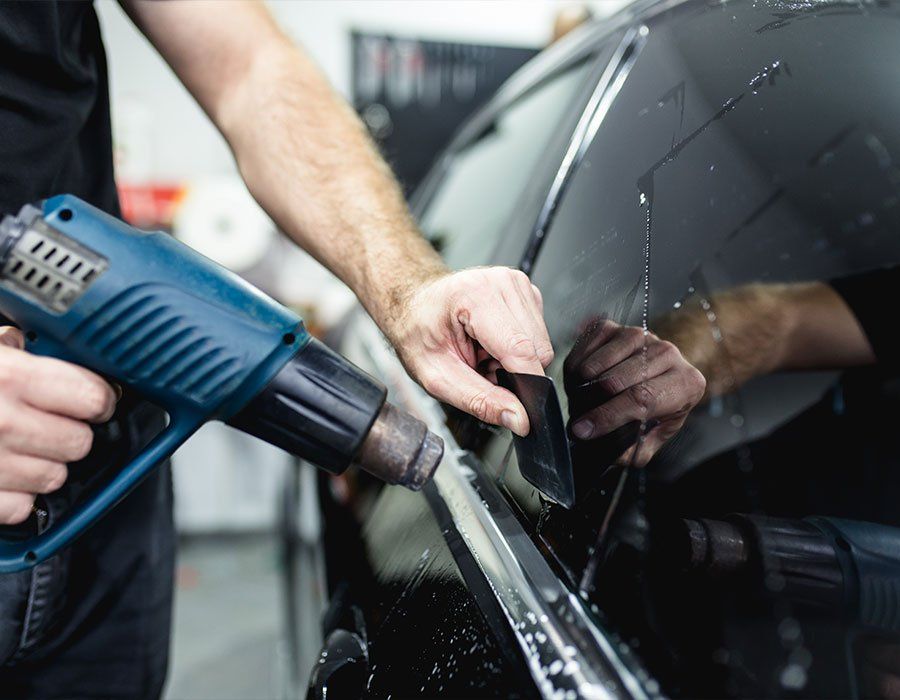
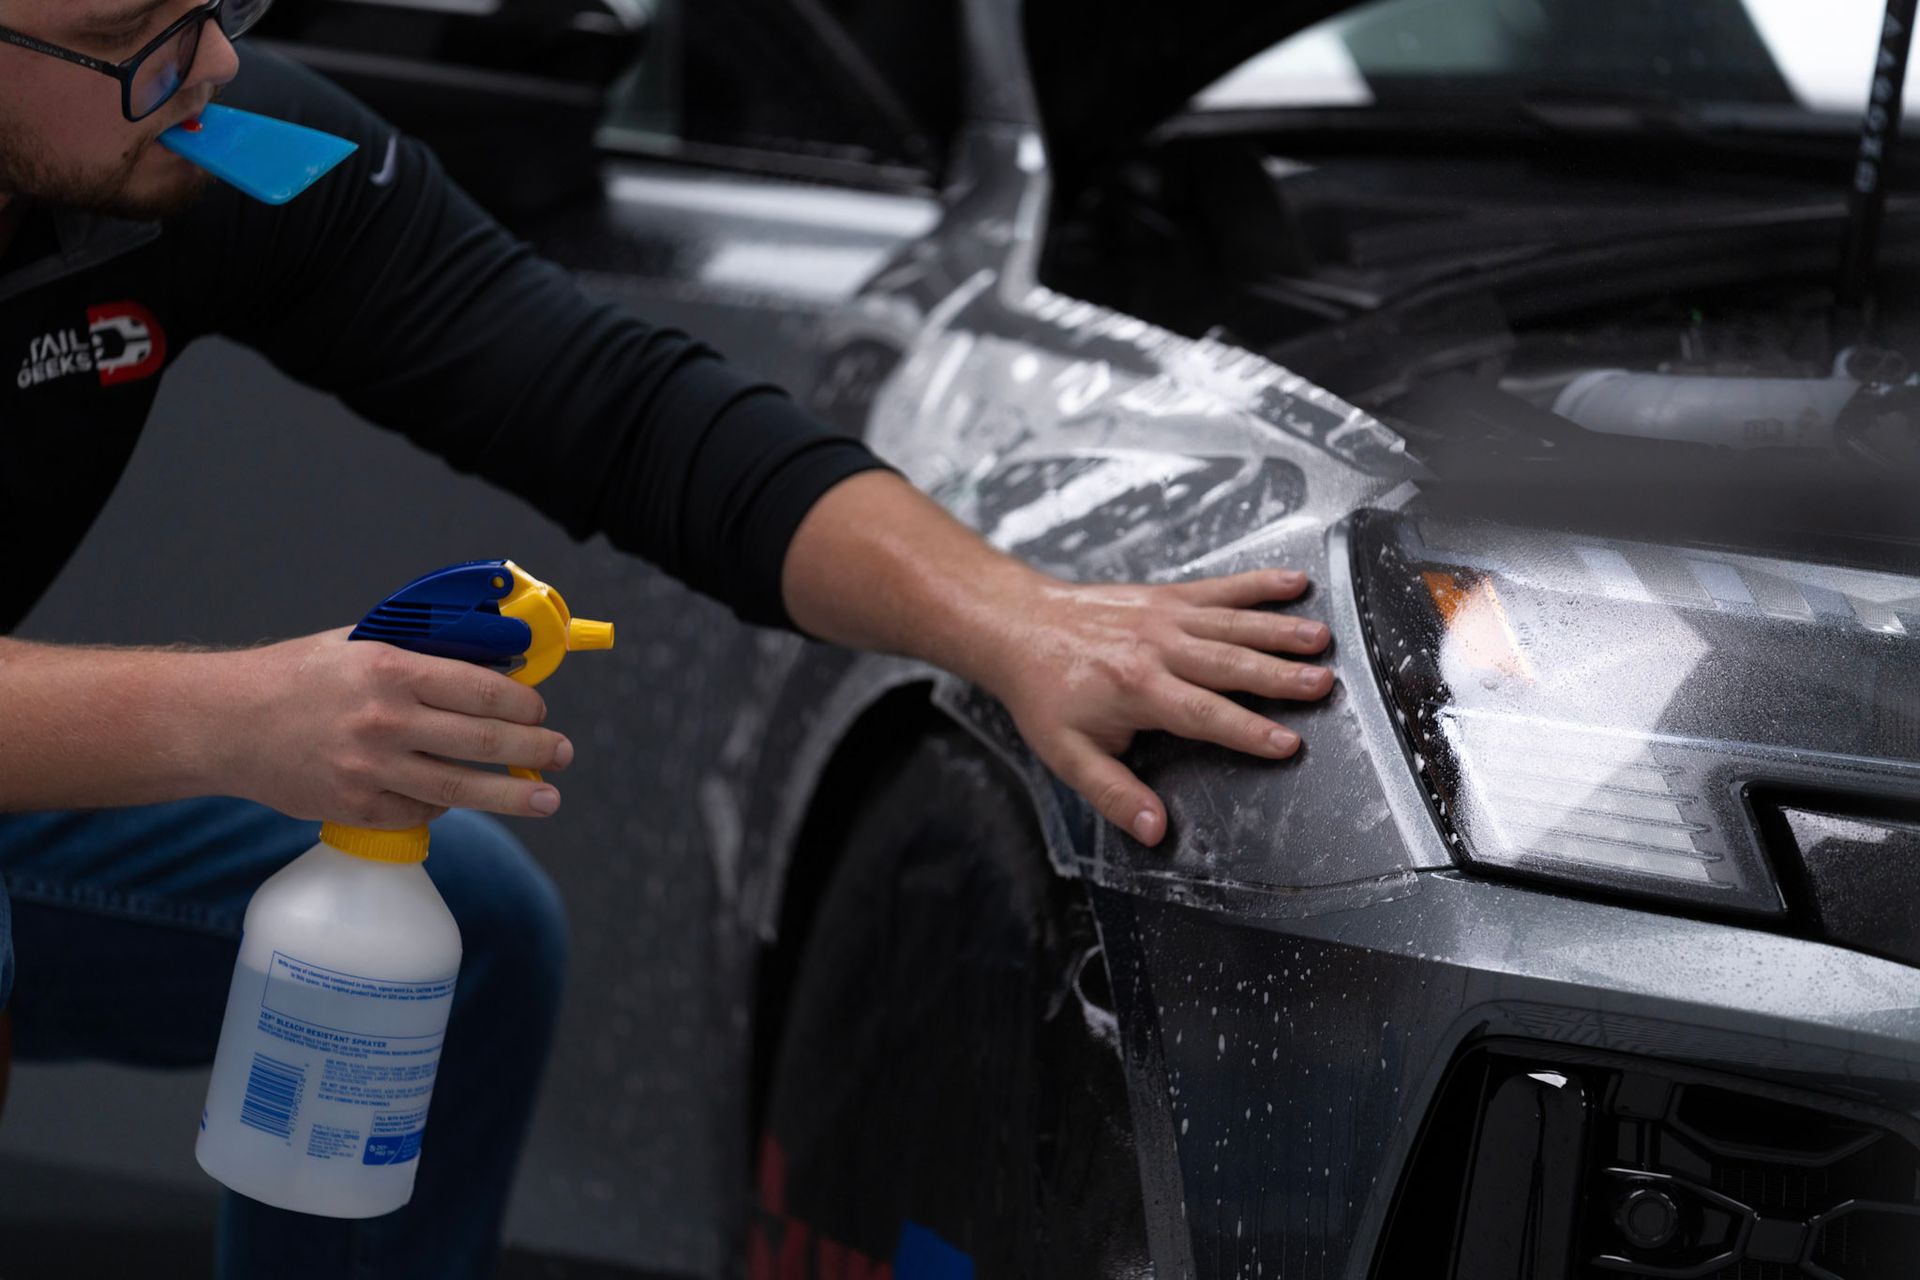
When considering installation quality, professional services generally prevail due to their vast experience and specialized training. Professionals often possess skills developed through countless installations. This reflects their ability to handle various challenges and nuances of the application process with finesse. They are adept at avoiding common pitfalls such as air bubbles, wrinkles, or misalignments that can undermine the film's effectiveness and aesthetic appeal. Imagine trying to fit a puzzle together blindfolded; that's what an inexperienced DIYer might face when applying paint protection film without proper preparation. The meticulous nature of this task cannot be emphasized enough, as professionals rely on industry-standard tools and a specialized environment to ensure optimal conditions for application.
Developing Skills Over Time
While professional installers have built their reputation on years of experience, DIYers start from scratch. Yet every expert was once a beginner. It’s entirely feasible for someone enthusiastic about detailing their vehicle to invest time in learning the ins and outs of applying paint protection film effectively. Online tutorials and instructional videos provide step-by-step guidance for beginners eager to develop their skill set. Regular practice can lead DIYers to achieve results close to those of seasoned professionals—but it comes with a caveat. Without proper diligence during this learning phase, the risk of making critical errors increases significantly, which could lead to costly reapplications later on.
Thus, while some may argue that DIY projects encourage personal growth and knowledge, one must weigh this benefit against the risk involved in opting for a non-professional finish when it matters most—protecting your vehicle’s appearance and integrity effectively.
Time and Effort Required
Planning for a paint protection film project involves looking realistically at your available time, which can make a significant difference in your choice.
- DIY PPF Installation: If you opt for the DIY route, be prepared to dedicate anywhere from 10 to 20 hours of your weekend. This time is not just about slapping the film on; it includes cleaning your vehicle's surface, ensuring it's free from dirt and dust, preparing the materials, and then applying the film with precision. Often, there's a frustrating learning curve as you adjust to every tiny movement needed for a perfect application. When it comes to physical effort, DIY installation isn’t exactly a walk in the park; it demands both focus and stamina. You’ll find yourself engaging in repetitive motions such as taping edges, bending over to reach different sections of your vehicle, and working in confined spaces where precision is paramount. All of this can lead to fatigue and discomfort after several hours.
- Professional PPF Installation:
On the other hand, if you choose professional installation, you're relinquishing control over the time commitment but gaining convenience. You would typically leave your vehicle at the shop for one full day—imagine dropping it off in the morning and picking it up later that afternoon. During that period, you can tackle other tasks or genuinely relax without worrying about whether you've aligned that film perfectly against the curves of your car. When it comes to physical effort, professional installers are well-equipped with techniques and tools, handling all these challenges seamlessly. For those who need a hassle-free experience amidst busy schedules, professional installation offers a simpler path with supreme quality.
Making Your Decision
Deciding between DIY and professional installation for paint protection film (PPF) involves more than just budget—it also depends on the quality you expect and the time you can commit. Here's a breakdown of key considerations to help you make an informed choice:
- Budget Considerations: If saving money is your top priority, DIY installation can reduce costs by 50% to 70% compared to hiring a professional. However, be prepared for the challenges it brings. DIY requires patience, skill, and the willingness to navigate potential mistakes, which could negate your initial savings if things go wrong.
- High-Quality Results: If you are prioritizing flawless results, professional installers offer unmatched expertise in applying paint protection film without bubbles or misalignment. They also use higher-quality materials that ensure long-term durability, giving you peace of mind that the job will be done right the first time with a superior finish.
- Convenience and Time: If you’re short on time or want to avoid the hassle of learning DIY techniques, professional installation may be your best bet. It allows you to skip the labor and stress of the process, ensuring the work is completed efficiently. Although more expensive upfront, the time saved and quality assurance often make it a worthwhile investment.
When choosing between DIY and professional installation, consider what matters most to you: cost savings, quality, or convenience. Aligning your decision with your priorities will ensure you get the best outcome for your needs!
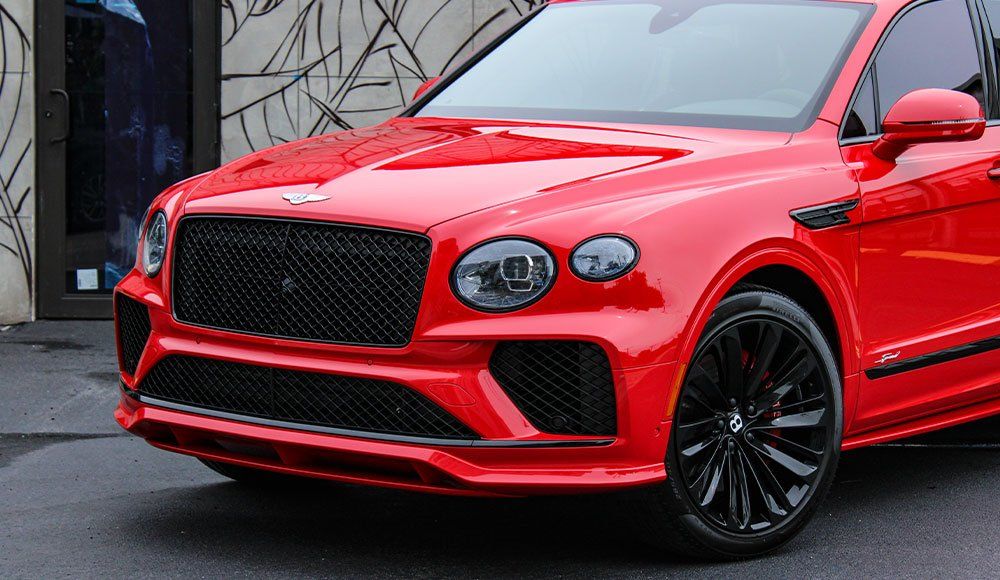
Professional PPF Services in Fort Lauderdale, FL
At Detail Geeks, we offer
top-tier paint protection film services in Fort Lauderdale to keep your vehicle looking flawless. Our PPF installations safeguard your car’s exterior from chips, scratches, and environmental damage while maintaining its showroom shine. With expert precision and high-quality materials, we ensure a seamless, durable finish that enhances both protection and style. Ready to protect your investment? Contact Detail Geeks today to book your PPF service and enjoy long-lasting defense for your vehicle’s paint. Call us at (305) 896-2430 to get started!
Detail Geeks Blog

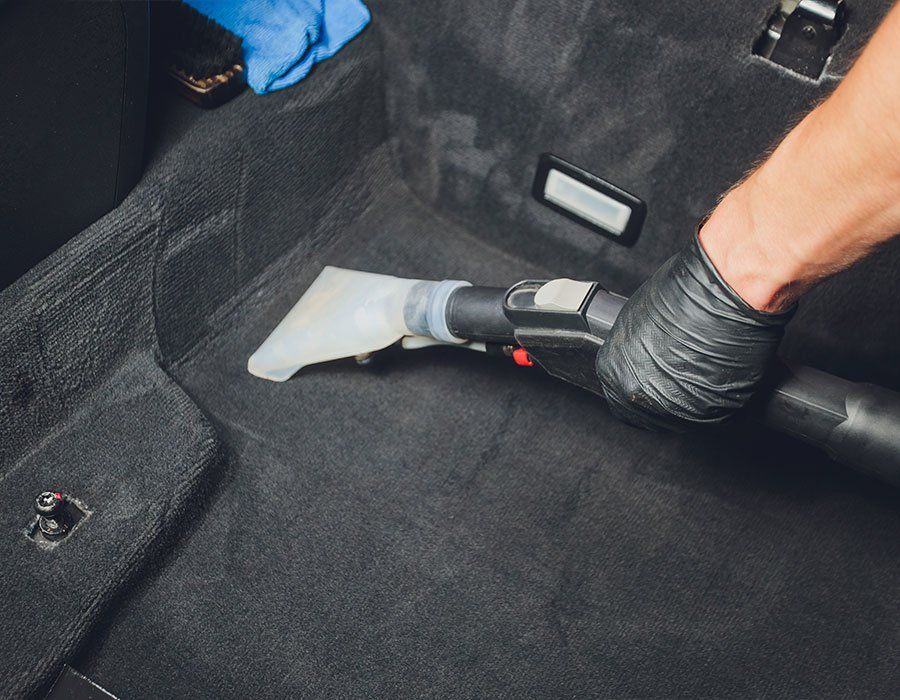
Detail Geeks is a fully-licensed and highly professional automotive and marine detailing shop based in Fort Lauderdale, Florida. We work tirelessly to bring paint perfection, restorative surface corrections, and complete sanitation and decontamination of interior and exterior surfaces of cars, trucks, SUVs, and recreational water crafts like boats and jetskis. Always aiming to exceed your expectations as our valued customer is priority to us, and you can rest easy knowing your vehicle is always in good hands.
Quick Links
Our Location
3472 NE 5th Ave, Unit 11 Oakland Park, FL 33334 United States
Connect With Us
PHONE: (305) 896-2430
EMAIL: business@detailgeeks.com

This website was designed by the team at
Detailers Roadmap, a platform developed for detailing operators across the globe.
Terms of Service
|
Privacy Policy