
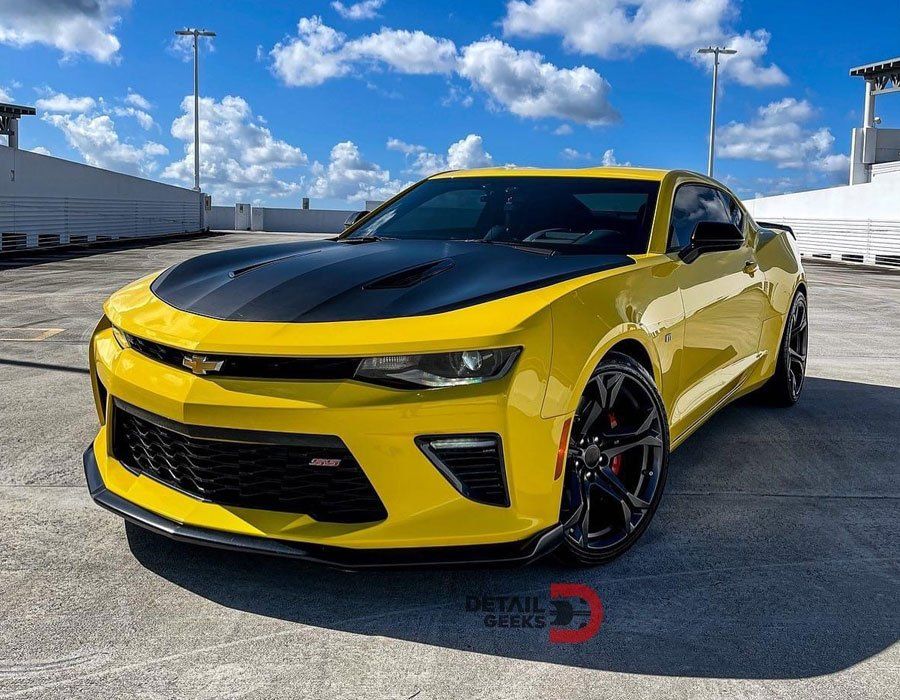
Paint Protection Film Installation Process: Essential Tips For Your Vehicle
Installing paint protection film on your cherished vehicle can feel daunting, but understanding each step in detail can make it a rewarding DIY project. Imagine cruising down the road with your car’s paint gleaming flawlessly because you took the time to apply PPF correctly, protecting it from scratches and minor damages.
The installation process of paint protection film involves several key steps: first, thoroughly wash and prepare the vehicle's surface, ensuring it's free of dirt and debris; next, measure and cut the PPF to size, using pre-cut kits where possible for efficiency; then, apply a slip solution for repositioning the film and carefully align it starting from one end to eliminate wrinkles. Finally, remove air bubbles using a soft squeegee, trim any excess material with a sharp blade, and inspect for imperfections before letting the film cure for 24 to 48 hours.
Essential Tools for PPF Installation
Installing a paint protection film effectively requires specific tools that cater to various aspects of the process. Each tool plays a vital role, ensuring that the film adheres correctly and provides lasting protection for your vehicle’s paint. Investing in quality equipment not only simplifies your task but also enhances the overall outcome of your project.
Key Tools Needed
- Squeegee: This indispensable tool is critical for smoothing out the film during installation and ensuring that air bubbles are removed. Using a squeegee with both hard and soft edges allows versatility; while hard edges work well on flat surfaces, softer edges can conform better to curves.
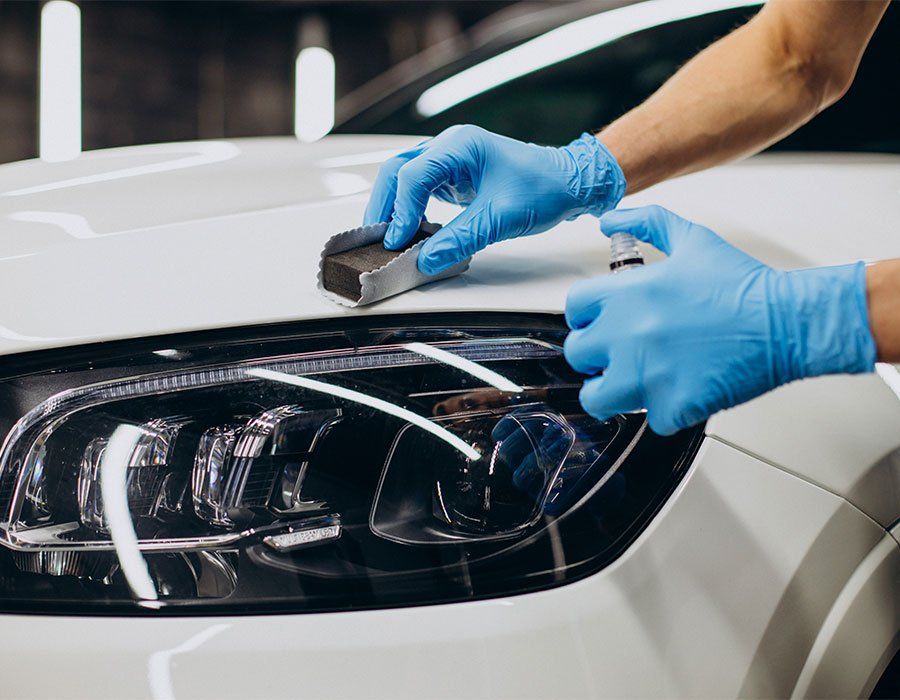
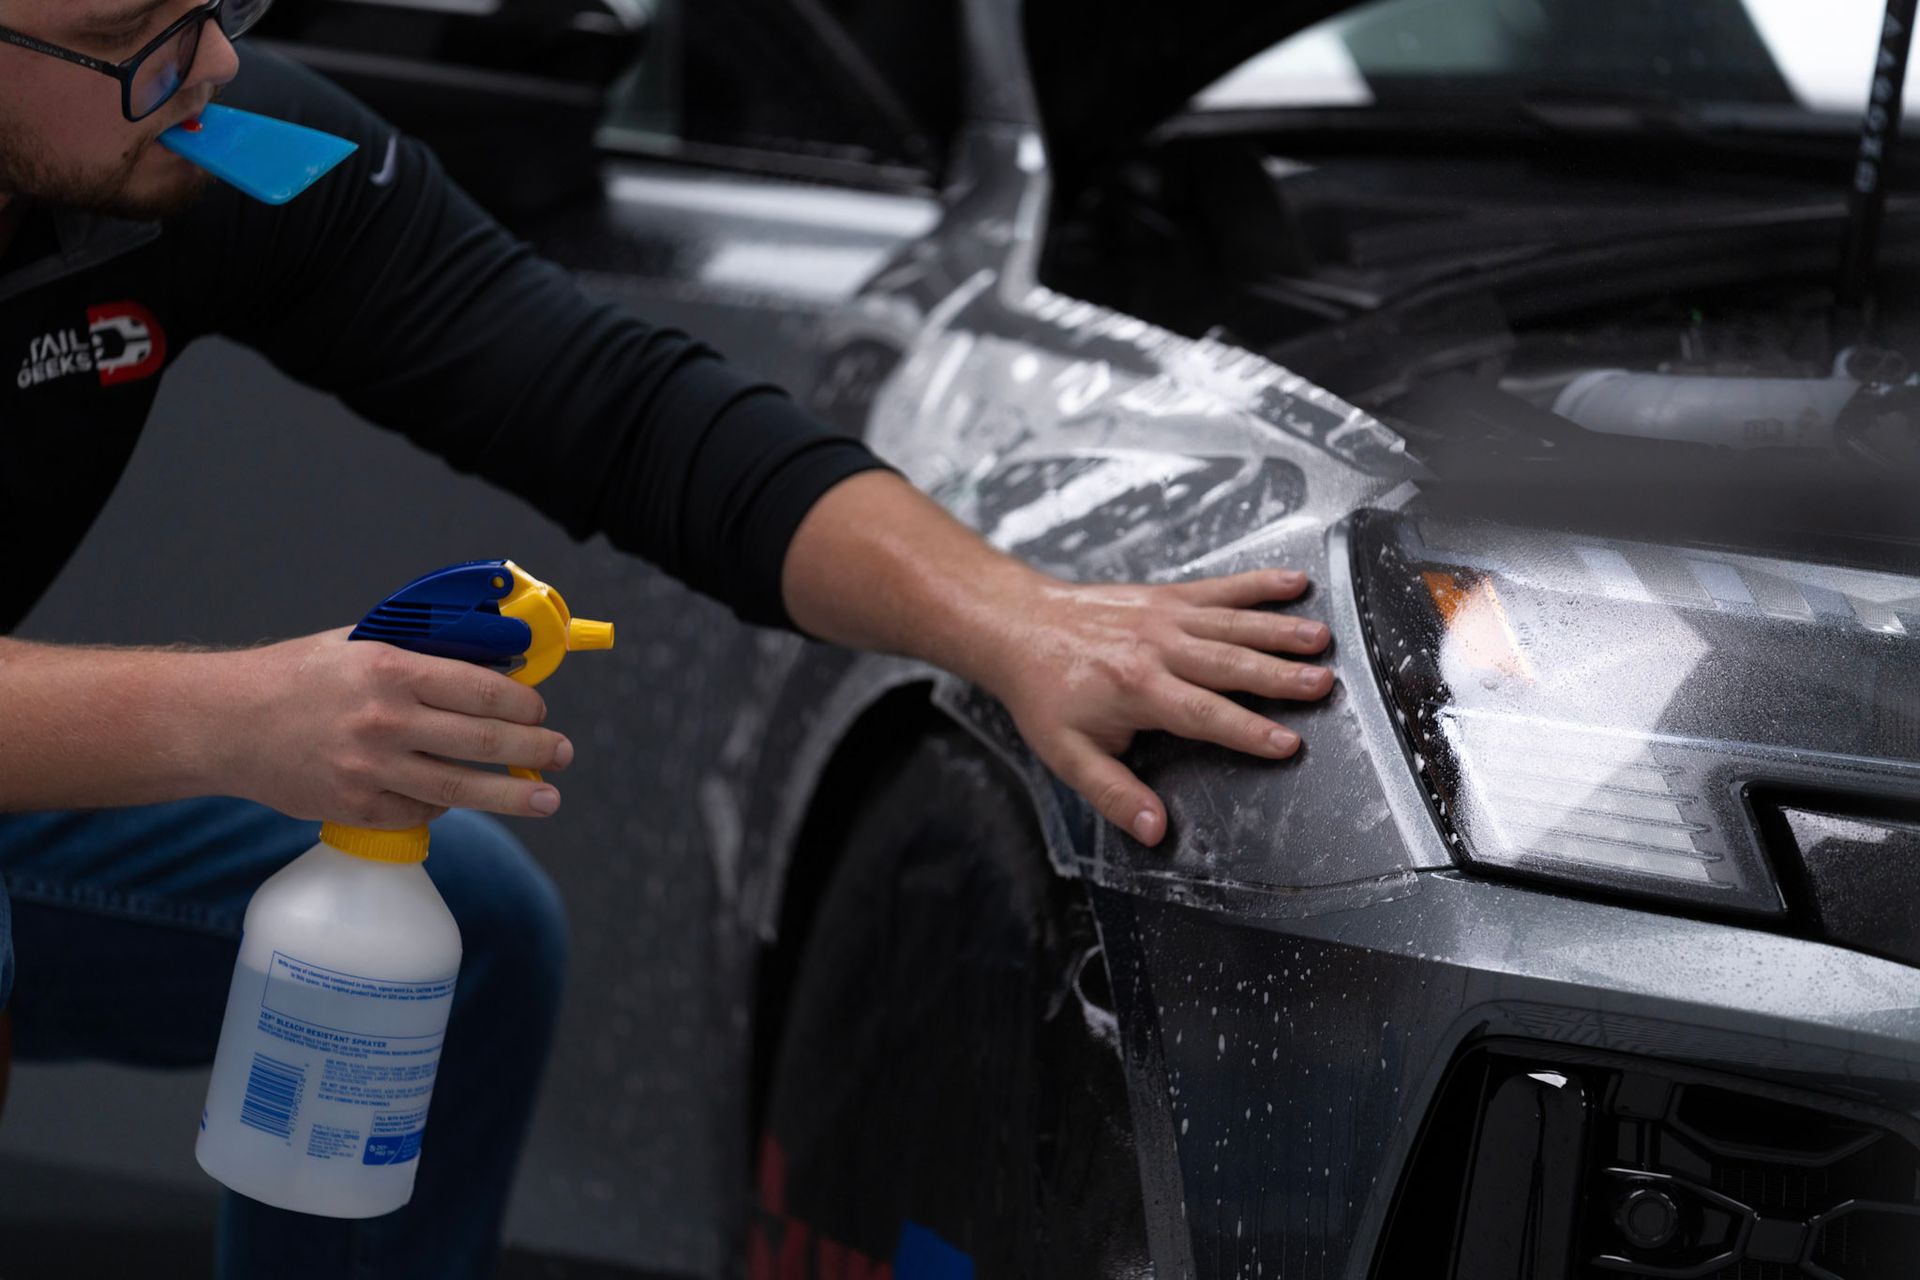
- Spray Bottle: Filled with a slip solution—typically a mixture of water and baby shampoo—this bottle helps create a lubricative barrier, making it easier to reposition the film as you apply it. The key here is not to oversaturate, which could affect adhesion.
- Sharp Blade: A sharp utility knife is essential for trimming excess paint protection film material without risking damage to your vehicle’s paint. Precision is crucial; opt for blades specifically designed for automotive applications for best results.
- Microfiber Cloth: Dust or moisture can sabotage adhesion, making microfiber cloths perfect for cleaning surfaces prior to installation. Their softness avoids scratching while effectively capturing dirt and debris.
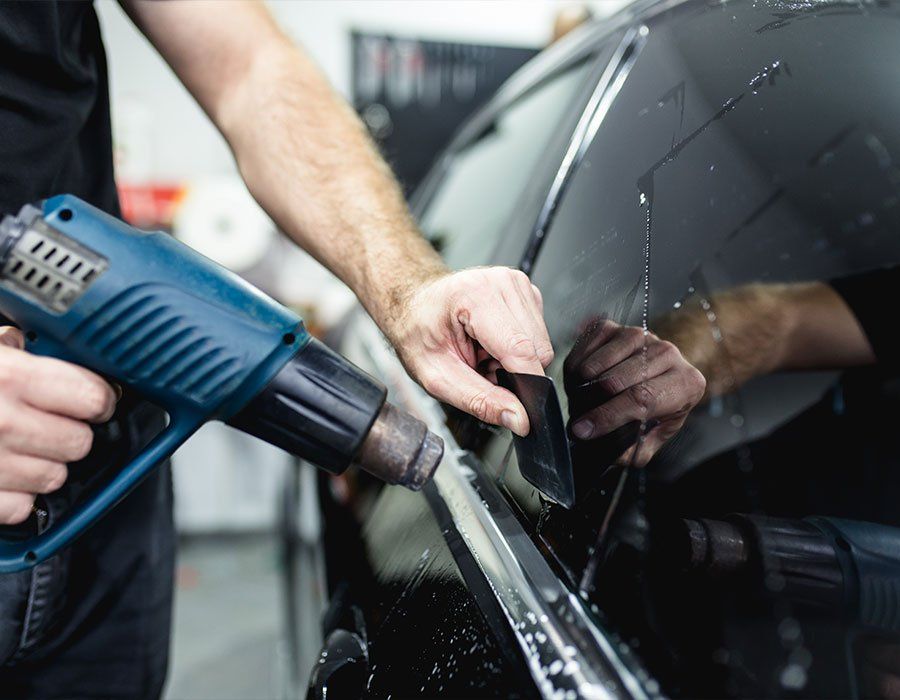
- Heat Gun: This tool assists in softening the paint protection film, allowing installers to stretch and shape it around complex curves effortlessly. Be cautious—excessive heat can damage both the film and vehicle surface.
Understanding how and when to use these tools is critical. Many installers vary their techniques based on the type of squeegee they use. Some prefer hard squeegees for flat areas where precision is key, while others switch to softer options as they navigate curves and contours of the vehicle. By being mindful of each tool's purpose, you'll find that every step of the PPF application becomes more manageable.
Cleaning and Surface Preparation
Before applying paint protection film (PPF), ensuring that the vehicle's surface is immaculate cannot be overstated. A clean surface is vital; any dirt, grime, or debris left on the car can compromise the adhesive properties of the film, leading to peeling or bubbling over time. This process requires attention to detail and a systematic approach. Here are the steps for surface preparation:
Steps for Surface Preparation
- Initial Wash: First comes the initial wash—start by thoroughly washing your vehicle with a mild detergent. Think of it as giving your car a rejuvenating bath. Aim for every nook and cranny, as trapped dust and loose particles are like hidden enemies ready to cause havoc when you lay down the PPF. Use a soft wash mitt and plenty of water to avoid scratching the surface during this vital stage. Rinse well with clean water to remove all soap residue.
- Decontamination: The next step is decontamination using a clay bar. Picture the clay bar as an eraser for your car's surface impurities. This tool safely lifts away embedded contaminants such as tree sap, industrial fallout, or fine metal particles that typical washing may not eliminate. Spray lubricant onto the surface before sliding the clay back and forth; this ensures a smooth glide and prevents scratching. It's amazing how much smoother your vehicle’s surface will feel after performing this step!
- Isopropyl Alcohol Wipe: After these initial steps, it’s time to tackle oily residues with an isopropyl alcohol wipe. Mix 70% isopropyl alcohol with 30% water in a spray bottle, and generously apply this mixture to the prepared surface using a microfiber cloth. This final wipe-down removes any remaining oils or fingerprints, essentially completing your surface preparation ritual. Remember, an immaculate canvas leads to stunning results, showcasing how crucial our earlier steps were.
Professional detailers emphasize that much of a successful PPF installation hinges on these preparatory steps. By investing this time into cleaning and preparing your vehicle accordingly, you're setting the groundwork for long-lasting protection.
Steps for a Smooth Application
- Measuring and Cutting: The journey begins with accurately measuring the area for the paint protection film. Precision is key; even a slight inaccuracy can lead to unsightly overlaps or gaps. If you’re using pre-cut kits, verify that they align well with your vehicle's dimensions before cutting. This foresight minimizes errors and saves time later on. A good cut is akin to an artist starting with a clean canvas—everything hinges on getting it right from the start.
- Spraying Slip Solution: Next, we prepare the critical slip solution of water mixed with a few drops of baby shampoo. This concoction serves as your ally during installation. By spraying this liberally on both the car's surface and the adhesive side of the paint protection film, you create a slick layer that allows for easy repositioning. Think of it as oiling the gears of a watch; it helps everything run smoothly without unnecessary friction.
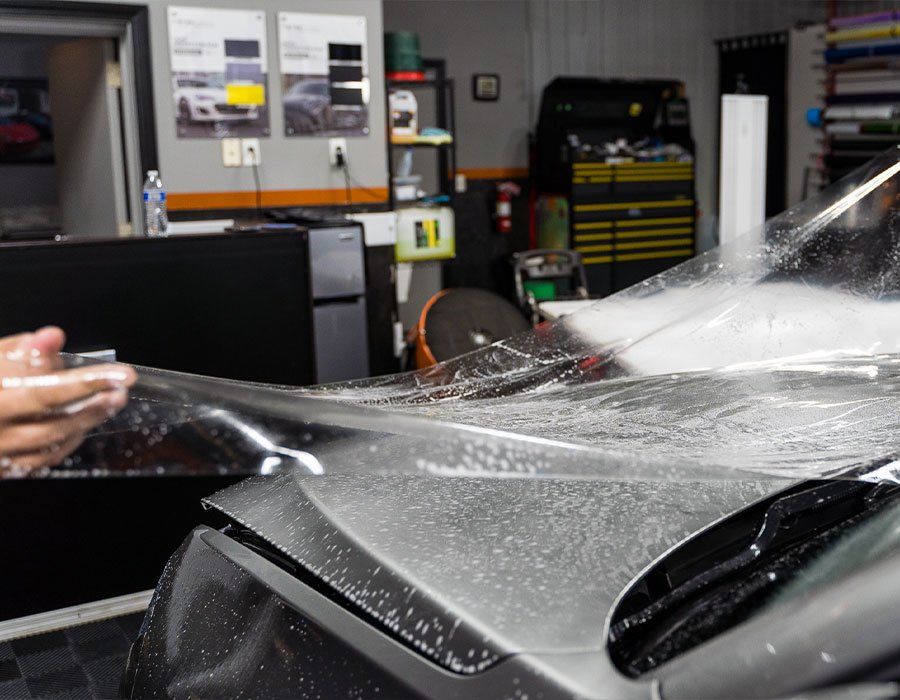
- Placing the Film: Now comes the exciting part—placing the film onto that wet surface. Carefully unroll the paint protection film and position it directly over the area you've prepared. The beauty of the slip solution is that it lets you gently slide and reposition the film until it's just right, without any premature sticking. As you lay the film down, be mindful of its alignment; it should sit snugly against edges and contours to avoid unsightly gaps or folds.
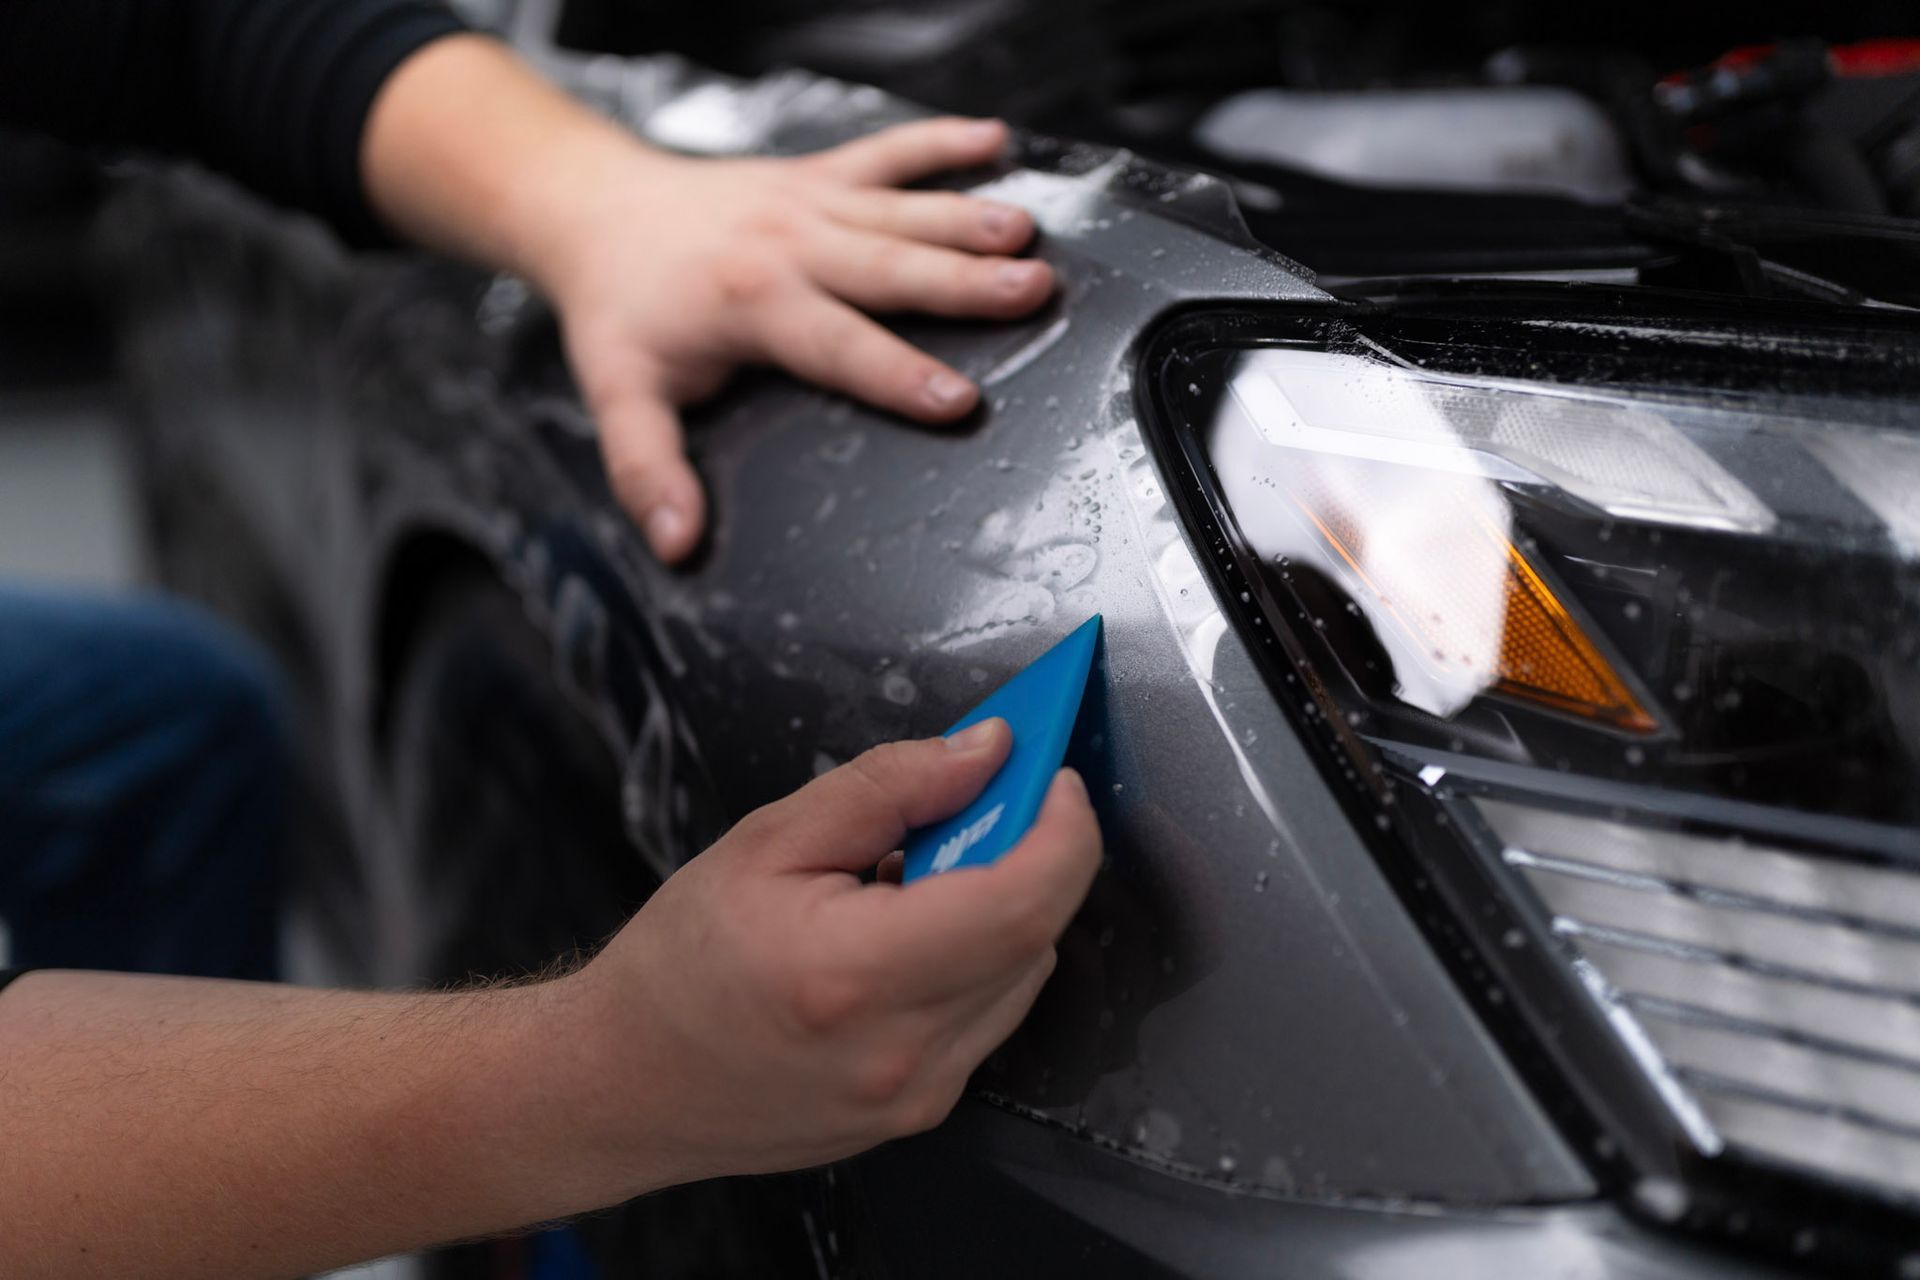
- Squeegeeing Out Air Bubbles: The battle against bubbles has begun. Using a soft squeegee, start from one end of the film and work your way toward the opposite edge, applying firm yet gentle pressure as you go. This technique pushes air and excess slip solution out from underneath the film, creating an impeccable seal. Should you encounter stubborn bubbles, don’t panic—simply pierce them with a fine pin to release trapped air before smoothing everything out again.
Removing Bubbles and Fixing Edges
- Eliminating Air Bubbles: One of the most common challenges during PPF installation is the formation of air bubbles. To effectively eliminate these, you'll want to use a squeegee, ensuring you push the air towards the nearest edge rather than trying to force it back under the film. As you apply pressure with the squeegee, remember to take your time. A steady, consistent pressure works wonders in promoting a smooth surface without creating additional wrinkles. It's important to start from the center of the bubble and work your way outwards, as this technique helps in managing how the film settles against the surface.
- Securing the Edges:
Once you've carefully pushed out all noticeable bubbles, focus on securing those critical edges. The edges are often vulnerable to lifting if they aren't applied correctly. Using a heat gun here can make all the difference. By gently warming the film, you enhance its flexibility, allowing it to grip better against the vehicle's contours without risking lifting or damage. When applying heat, ensure that you're keeping a safe distance—usually around six to eight inches—from the film surface. This ensures that you soften it without overheating or compromising its integrity. After securely placing the edges, run your fingers along them to ensure they adhere well to the surface beneath.

Maintenance Tips for PPF
Regular upkeep of your paint protection film is essential not only to enhance its appearance but also to prolong its effectiveness against scratches and environmental damage. Start by incorporating regular cleaning into your routine; washing your car by hand with a mild detergent is the best approach. This gentle method removes dirt and grime without risking scratches that automated washes might cause. Avoid using harsh chemicals or high-pressure washers, as they can compromise the integrity of the film.
As you wash, pay particular attention to the edges where the film meets your vehicle’s paint. These areas are prone to collecting dirt and moisture, which can affect adhesion over time. Gently scrub these spots with a soft sponge to ensure all particles are removed. Additionally, it's advisable to dry the surface immediately after washing to prevent water spots, especially on darker-colored cars.
Maintaining annual check-ups involves a thorough inspection. Each year, take some time to examine the edges of the PPF carefully. Look for any signs of lifting or wear that may impact performance. If you notice a section starting to lift, reapply heat gently using a heat gun or a hair dryer on a low setting; this often helps to reset the adhesive bond. Just be cautious not to overheat or stretch the film excessively during this process.
Lastly, prevention is always better than cure. Keeping your vehicle sheltered from extreme weather conditions whenever possible can minimize stress on the PPF. Exposure to harsh UV rays can degrade the film's protective qualities over time, so consider parking in shaded spots or using a car cover if necessary. With proper care established, it’s crucial to recognize and sidestep common errors that could undermine your efforts in maintaining the film's integrity.
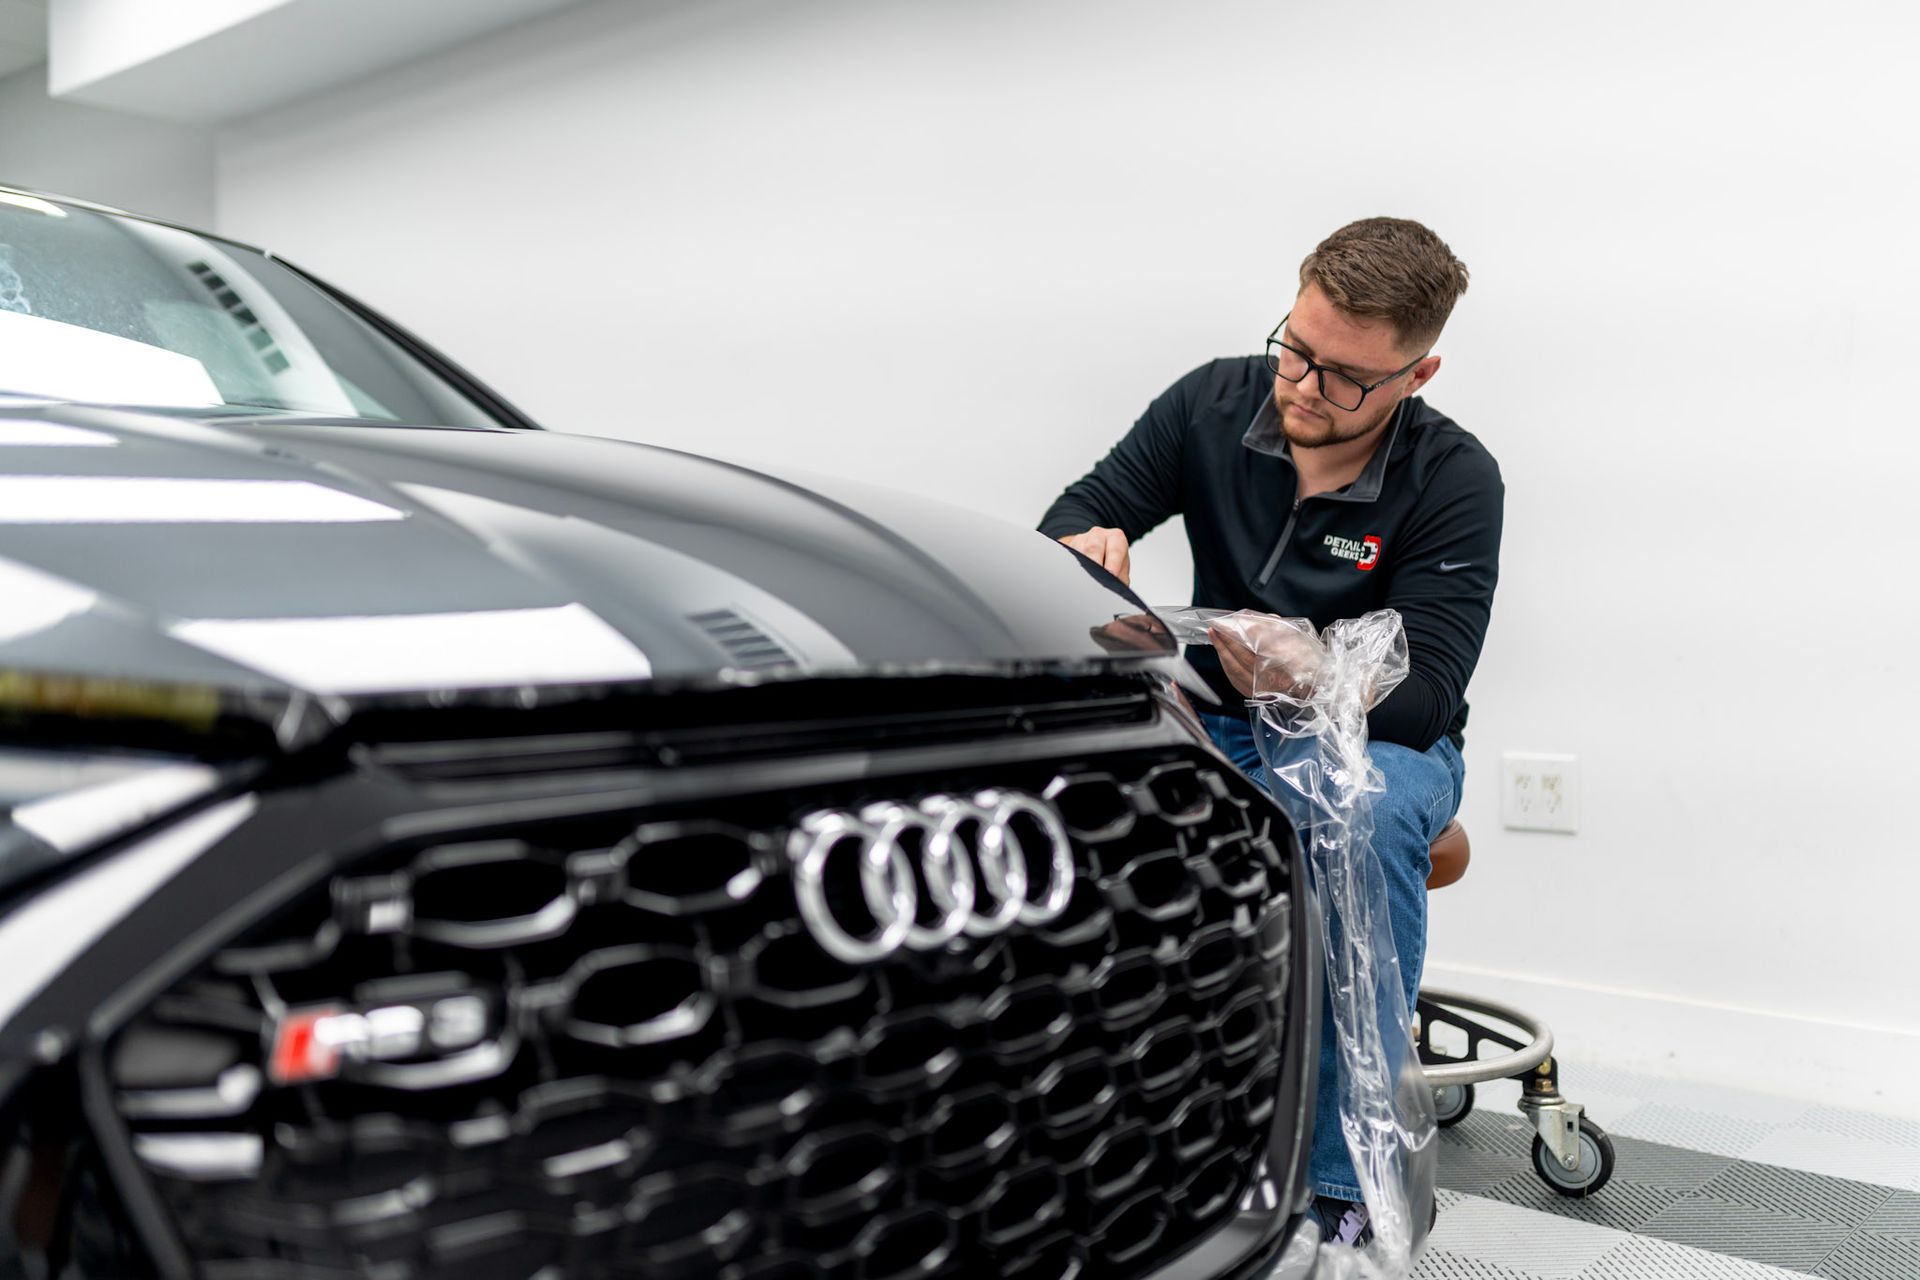
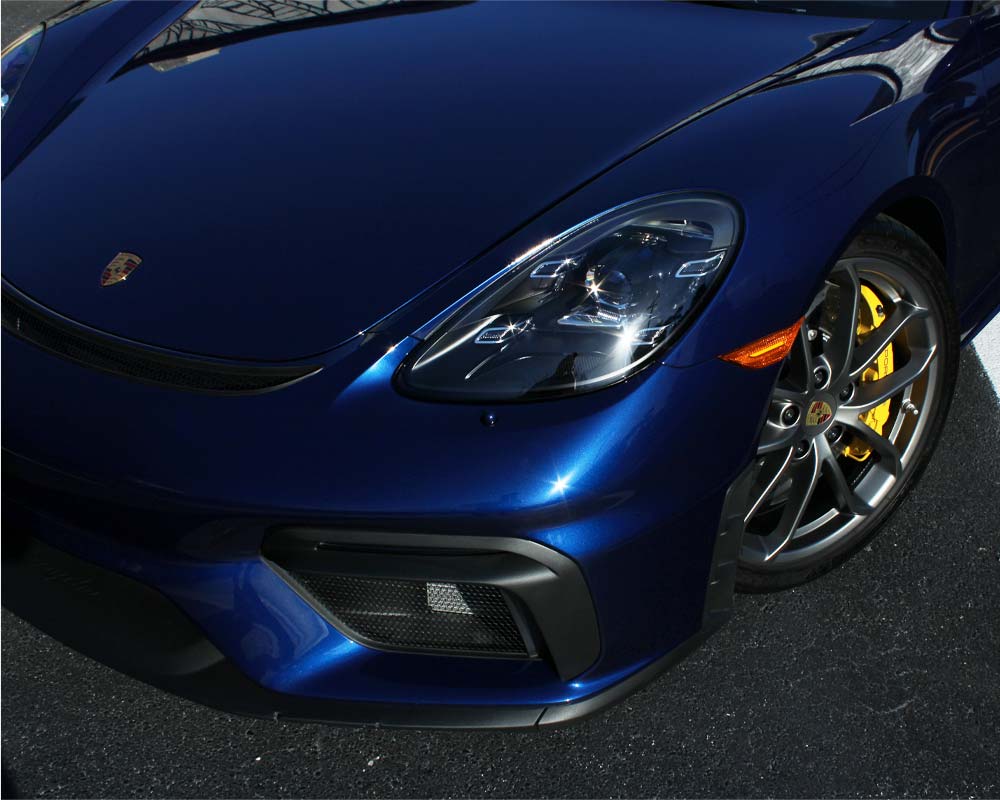
The Importance of Professional PPF Installation
A paint is a vital investment in maintaining the beauty and value of your vehicle. While DIY kits are available, professional paint protection film installation ensures optimal results and long-term durability. Here’s why trusting experts for PPF installation makes all the difference.
- Precision and Expertise: Professional installers have the knowledge and experience to apply paint protection film with precision. They understand the intricacies of different vehicle shapes, ensuring seamless coverage on even the most complex curves. This expertise prevents issues like bubbling, peeling, or improper alignment that can arise with DIY applications.
- Access to High-Quality Materials: Professional services use top-tier paint protection film materials that offer superior protection compared to generic or lower-grade films. These high-quality films provide better resistance to scratches, rock chips, and environmental contaminants. You also benefit from advanced features like self-healing technology, which may not be available with DIY kits.
- Custom Fit for Your Vehicle: A professional paint protection film installer will custom-fit the film to your vehicle, ensuring maximum coverage and protection. This tailored approach guarantees that every exposed surface is shielded, including the front bumper, hood, fenders, and mirrors. The result is a perfect fit that enhances your vehicle’s appearance and long-term value.
- Warranty and Peace of Mind: Professional paint protection film installations typically come with warranties that protect you against defects or premature wear. This gives you peace of mind, knowing your investment is safeguarded by professionals who stand behind their work. DIY kits often lack this assurance, leaving you to deal with potential problems on your own.
By choosing a professional PPF installation, you’re investing in precision, high-quality materials, and long-lasting protection for your vehicle. Trusting experts ensures your vehicle stays in pristine condition, offering both aesthetic appeal and robust defense against the elements.
Top Paint Protection Film Services in Fort Lauderdale, FL
At Detail Geeks, we specialize in
top-quality paint protection film services in Fort Lauderdale, designed to shield your vehicle from daily wear and tear. Our PPF provides a virtually invisible layer of protection, defending against rock chips, scratches, and environmental damage while preserving your car’s flawless finish. With expert installation and the finest materials, your vehicle stays protected without compromising its style. Ready to keep your car in pristine condition? Contact Detail Geeks today to schedule your professional PPF service! Call us at (305) 896-2430 to get started!
Detail Geeks Blog

Detail Geeks is a fully-licensed and highly professional automotive and marine detailing shop based in Fort Lauderdale, Florida. We work tirelessly to bring paint perfection, restorative surface corrections, and complete sanitation and decontamination of interior and exterior surfaces of cars, trucks, SUVs, and recreational water crafts like boats and jetskis. Always aiming to exceed your expectations as our valued customer is priority to us, and you can rest easy knowing your vehicle is always in good hands.
Quick Links
Our Location
3472 NE 5th Ave, Unit 11 Oakland Park, FL 33334 United States
Connect With Us
PHONE: (305) 896-2430
EMAIL: business@detailgeeks.com

This website was designed by the team at
Detailers Roadmap, a platform developed for detailing operators across the globe.
Terms of Service
|
Privacy Policy