
Maintaining Your Ceramic-Coated Vehicle: Top Tips for Long-Lasting Shine
You know that unparalleled satisfaction when your car glistens under a sunny sky? Keeping that brilliance on a ceramic-coated vehicle is no small feat—ordinary washes won't cut it. Missteps could dull the finish you take pride in or, worse, undermine that protective layer meant to last. But with dedication and the right approach, you can maintain not just the glow but also enhance your vehicle’s longevity and value.
To maintain your ceramic-coated vehicle, it is crucial to wash it at least once a month using a pH-neutral shampoo to preserve the coating's protective properties. Additionally, be sure to regularly inspect the coating and consider applying a silica sealant every six months to enhance durability and shine.
Essential Tools for Ceramic Coating Maintenance
When it comes to caring for your ceramic-coated vehicle, the importance of having the right tools cannot be overstated. A high-quality, pH-neutral car shampoo is foundational in this regimen because it ensures that your coating remains intact while effectively removing dirt and grime. Regular soaps with harsh detergents can damage your ceramic protection, stripping away its hydrophobic qualities and potentially leading to premature wear. Think of the shampoo as a gentle friend rather than an abrasive critter—one that respects the delicate nature of your coating.
In conjunction with the shampoo, soft microfiber wash mitts play a vital role in protecting your vehicle's surface from scratches and swirls. Abrasive materials such as sponges or rough rags can cause more harm than good, leading to noticeable imperfections on the surface. Microfiber is designed specifically to lift dirt without scratching, making it the perfect choice for maintaining that smooth finish.
Another pivotal element is adopting the two-bucket wash system approach. By filling one bucket with pH-neutral shampoo and another with just water for rinsing your mitt, you significantly reduce the risk of transferring dirt back onto your vehicle during cleaning. Each time you remove the mitt from the soapy solution, rinse it in the second bucket to dislodge any particles that could scratch your ceramic coating upon contact.
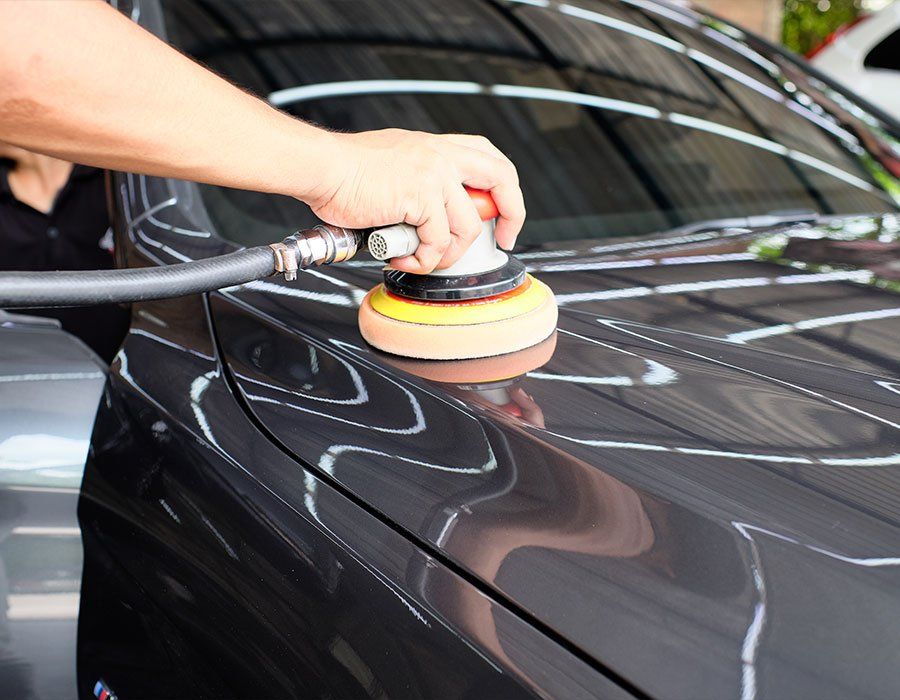
Effective Cleaning Methods
When it comes to maintaining a ceramic-coated vehicle, the methods you employ can significantly impact both its appearance and durability.
- Two-Bucket Method: One particularly effective technique is known as the two-bucket method. This approach helps preserve the integrity of your vehicle's finish while minimizing the risk of scratching caused by dirt particles clinging to your wash mitt. Essentially, you're using one bucket filled with soapy water for washing, while the second holds clean water to rinse your mitt before dipping back into the soap. This simple yet effective system prevents dirt from being reintroduced onto your vehicle’s surface.
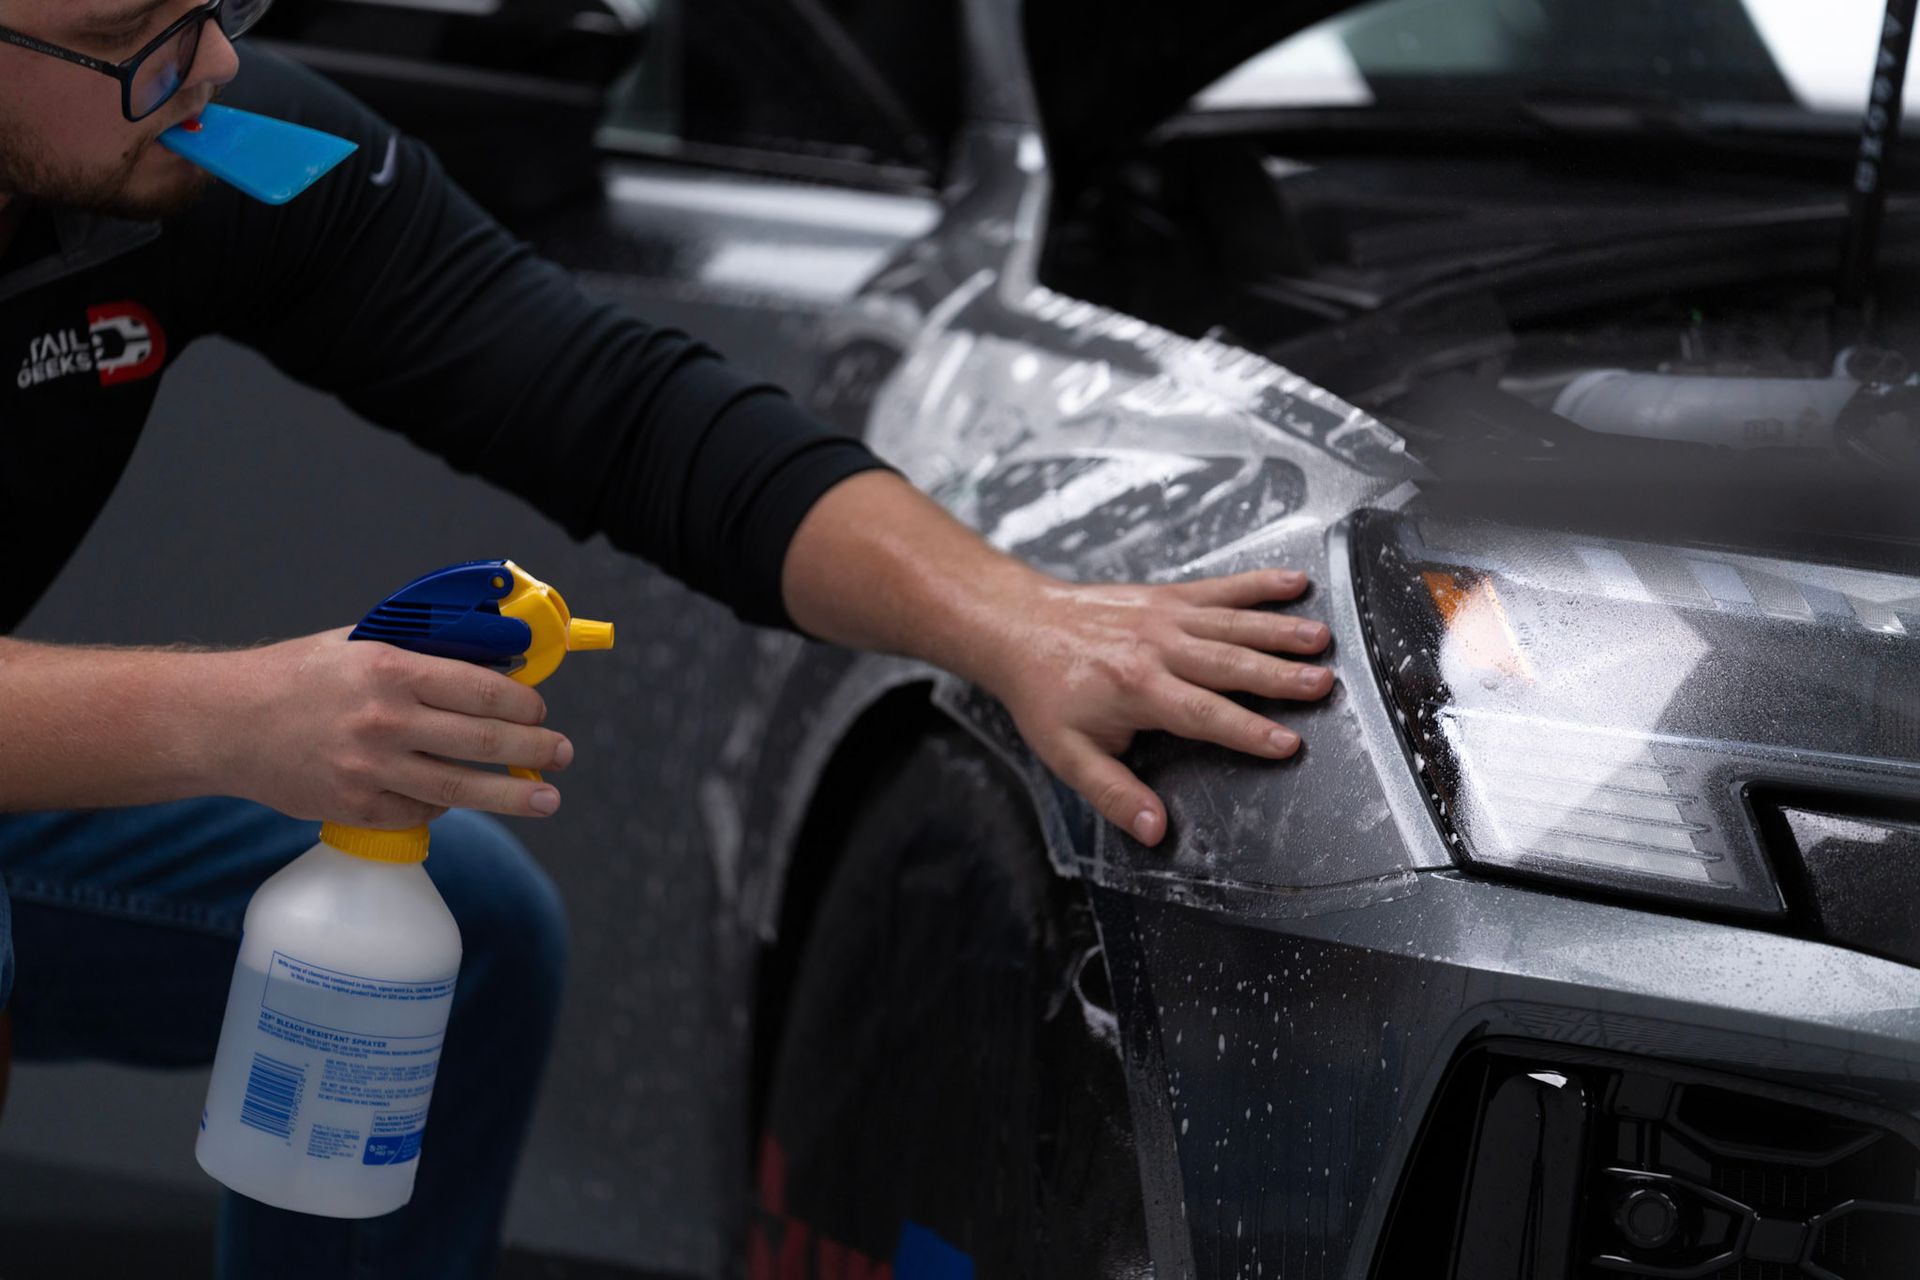
- Foam Cannon: Moreover, incorporating a foam cannon pre-soap rinse is highly recommended. A foam cannon allows you to cover your vehicle in a thick layer of foam that encapsulates dirt and grime. This makes it easier to wipe away without adding scratches, which can be a common issue during conventional washing. These are specifically designed for this purpose, allowing for a more gentle cleaning experience that won’t harm your ceramic coating.
- Proper Drying Techniques: After thoroughly washing your car using these techniques, the next step is drying. The right drying method can prevent water spots and ensure you maintain that brilliant shine. It's best to use high-quality microfiber towels made from 300 GSM or higher fabrics; their soft texture effectively absorbs moisture without causing swirl marks. Instead of dragging the towel along the surface, gently blot or pat dry areas to avoid any potential scratches.
- Regular Maintenance: As part of an effective cleaning regimen, remember that regular maintenance will pay off tremendously. Schedule washes every two to four weeks depending on conditions, and keep an eye out for contaminants like tree sap or bird droppings that should be addressed immediately to maintain the coating’s protective qualities.
By integrating these cleaning techniques and adhering to proper maintenance procedures, you'll ensure that your ceramic coating remains effective and enhances the overall aesthetic appeal of your vehicle's exterior.
Keeping the Coating Hydrophobic
To ensure your ceramic coating remains hydrophobic, it’s essential to incorporate consistent care into your vehicle maintenance routine. The hydrophobic properties are what allow water to bead up on the surface rather than cling, and when they begin to fade, your vehicle's paint could be at risk. This means you'll need to take proactive measures to preserve that water-repellent feature.
- Regular Rinsing: Regular rinses can help wash away small particles before they have a chance to etch into the surface. Make it a practice to rinse your vehicle with clean water at least once a week, regardless of its appearance. Microscopic debris can accumulate over time, and even minimal residue can compromise the hydrophobic layer, so this simple step helps maintain integrity.
- Periodic Inspection: In addition, inspect the surfaces periodically for signs of diminished beading or any buildup of grime. By staying vigilant, you can catch early signs of wear and tear, preventing tougher cleaning tasks later. Regular checks also help you address issues before they affect the ceramic coating's protective qualities.
- Importance of Quality Wash Products: In your quest to keep the coat hydrophobic, remember that not all cleaning products are created equal. Avoid harsh soaps that can strip away waxes or coatings; instead, seek out pH-neutral shampoos designed specifically for ceramic-coated vehicles. This choice ensures you’re cleaning effectively while also protecting the existing coating from damage.
Annual Inspection and Professional Detailing
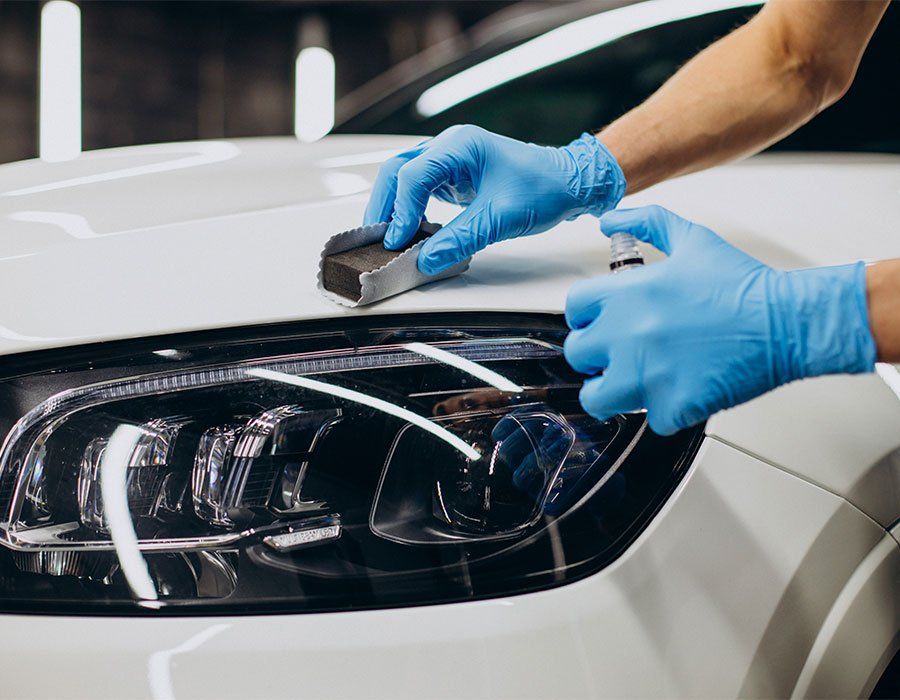
Even with diligent home maintenance, having your coating professionally inspected and detailed annually is a wise move. Over time, even the best ceramic coatings may begin to show signs of wear due to exposure to various environmental factors. This is where a professional's trained eye can truly make a difference. A professional detailer can apply specialized products that you may not have access to, ensuring that your vehicle receives the best possible treatment. For example, they utilize advanced boosters designed to enhance the existing ceramic shield, providing an added layer of protection against contaminants and UV damage.
But beyond their access to unique products, these professionals are often equipped with the skillset necessary to spot early signs of coating wear—things like dull spots that might go unnoticed during routine home maintenance. Vehicles that undergo professional detailing at least once a year maintain their coatings up to 30% longer than those without such services. This statistic is compelling; regular detailing not only preserves aesthetic value but also prolongs the lifespan of your investment. Think about it—having a thorough inspection done once a year can save you significant costs associated with premature coating replacement.
Imagine taking your car into a detailing shop; when you leave, it not only looks stunning but feels invincible against nature's elements. These trips are less about extravagance and more about practical preservation. Moreover, scheduling this annual check-up allows professionals to address any budding issues before they escalate. They can provide you with a customized maintenance plan tailored specifically for your vehicle’s needs based on its usage and exposure conditions.

Avoiding Common Maintenance Mistakes
Maintaining a ceramic-coated vehicle requires attention to detail and consistent care to preserve its shine and protection. Avoiding common mistakes and adopting proper maintenance techniques can extend the life of your ceramic coating. Here are some key practices to ensure your vehicle stays in top shape:
- Avoid Automated Car Washes: Automated car washes often use abrasive brushes and harsh chemicals that can degrade the ceramic coating faster than expected. Opt for hand washing, which offers more control over what touches your vehicle’s surface, reducing the risk of damage.
- Use the Two-Bucket Method for Washing: Using a single bucket for washing can redeposit dirt onto the vehicle’s surface, similar to cleaning a plate with a dirty cloth. The two-bucket method—one for rinsing and one for soap—minimizes the chance of contaminating the surface, protecting the coating from harmful debris.
- Regular Maintenance is Essential: A common misconception is that ceramic coatings are maintenance-free. Skipping regular washes can lead to dirt buildup, which accelerates the degradation of the coating. Consistent cleaning ensures the coating retains its hydrophobic properties, repelling water and keeping the surface in peak condition.
By steering clear of these common mistakes and committing to a diligent maintenance routine, you can prolong the life of your ceramic coating and keep your vehicle looking its best.
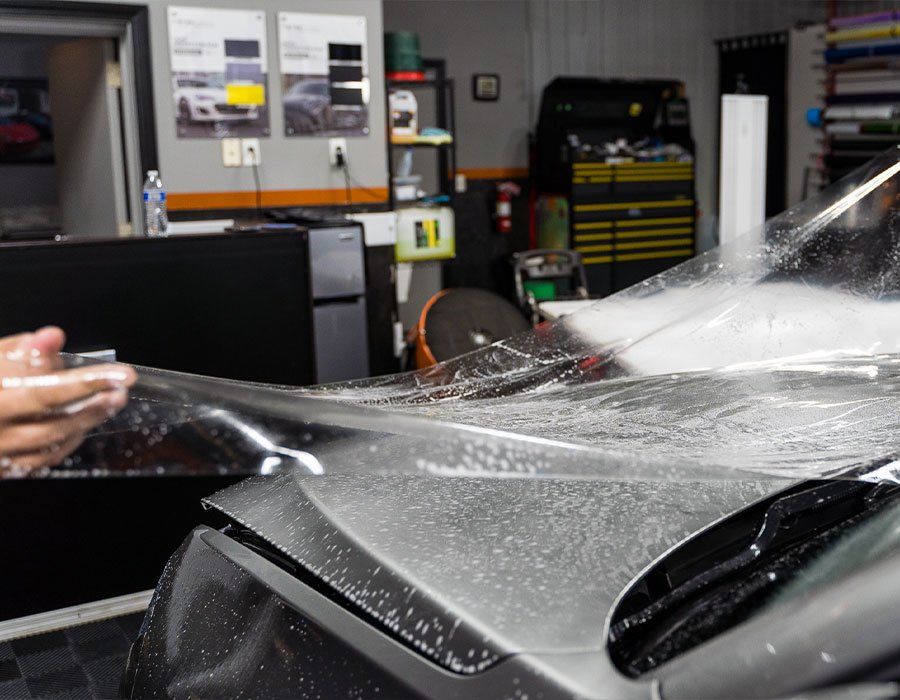
Durable Ceramic Coating Offerings in Fort Lauderdale, FL
Detail Geeks in Fort Lauderdale offers
exceptional ceramic coating services designed to protect and enhance your vehicle’s finish. Our ceramic coatings create a durable, hydrophobic layer that repels dirt, water, and UV damage, keeping your car looking sleek and glossy for years. With expert application and premium products, we ensure a flawless, long-lasting result that preserves your vehicle’s beauty. Ready to experience unmatched protection and shine? Contact Detail Geeks today to schedule your ceramic coating service! Call us at (305) 896-2430 to get started!
Detail Geeks Blog

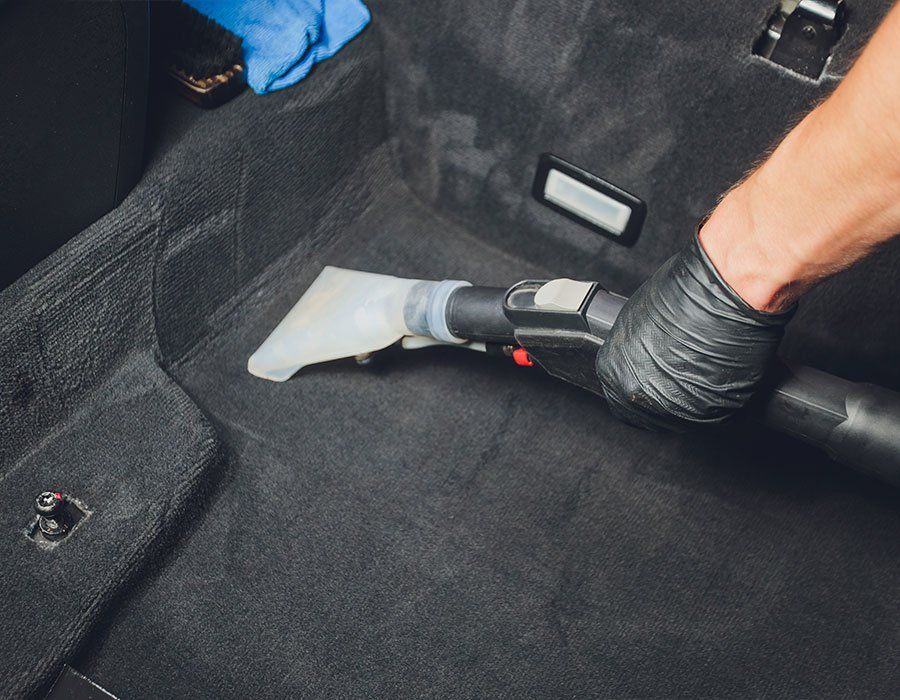
Detail Geeks is a fully-licensed and highly professional automotive and marine detailing shop based in Fort Lauderdale, Florida. We work tirelessly to bring paint perfection, restorative surface corrections, and complete sanitation and decontamination of interior and exterior surfaces of cars, trucks, SUVs, and recreational water crafts like boats and jetskis. Always aiming to exceed your expectations as our valued customer is priority to us, and you can rest easy knowing your vehicle is always in good hands.
Quick Links
Our Location
3472 NE 5th Ave, Unit 11 Oakland Park, FL 33334 United States
Connect With Us
PHONE: (305) 896-2430
EMAIL: business@detailgeeks.com

This website was designed by the team at
Detailers Roadmap, a platform developed for detailing operators across the globe.
Terms of Service
|
Privacy Policy